Uploading Files
Learn how to upload documents to your knowledge bases and manage your files.
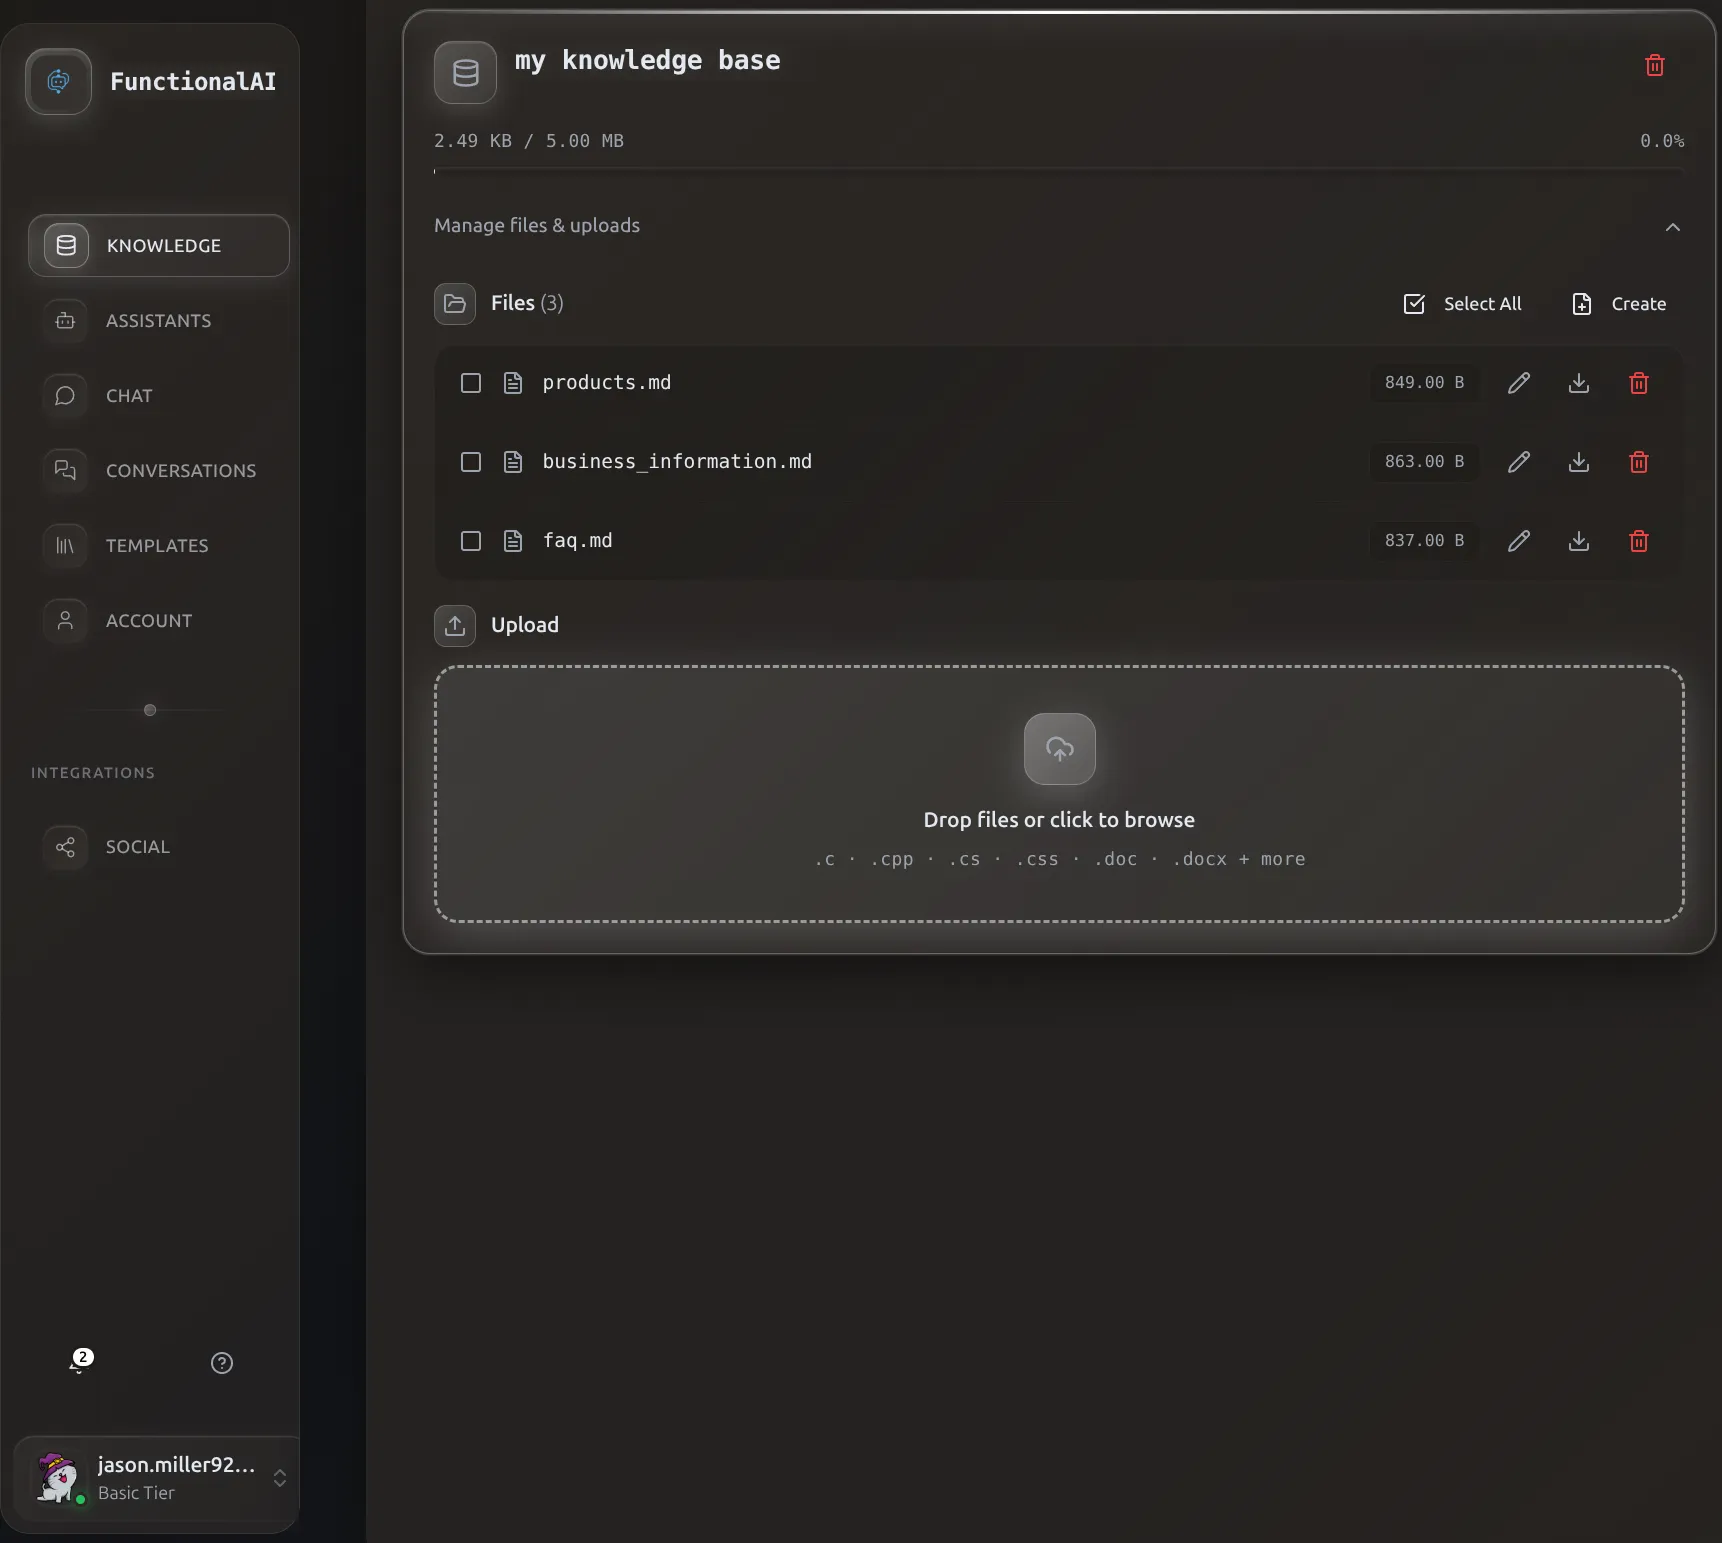 The Knowledge Store interface shows your files, storage usage, and provides drag-and-drop upload.
Required Step: Finish Upload
After uploading files, click Finish Upload to process them. Files won't be searchable until this completes.
Upload Methods
Drag and Drop
- Go to Stores and select your store
- Drag files from your computer
- Drop them into the upload area
- Wait for upload to complete
Click to Upload
- Click the upload area or Browse Files button
- Select files from your file picker
- Click Open to start upload
Upload Process
Step 1: Select Files
Choose one or more files to upload. You can upload multiple files at once.
Step 2: Upload Progress
Each file shows a progress indicator during upload.
Step 3: Finish Upload
Click Finish Upload to process your files. The system validates, extracts text, chunks documents, and generates embeddings for search.
Processing Time:
- Small files (< 1 MB): A few seconds
- Medium files (1-10 MB): 10-30 seconds
- Large files (10-100 MB): 1-5 minutes
Bulk Uploads
Upload multiple files at once and click "Finish Upload" once. The system processes them in parallel for faster completion.
Advanced: Processing Details
The Finish Upload button triggers this process:
- Validation - Checks file sizes and formats
- Transfer to OpenAI - Files are sent to OpenAI's infrastructure
- Text Extraction - Content is extracted from documents
- Chunking - Documents are split into optimal-sized chunks
- Embedding Generation - Each chunk is converted to a vector embedding
- Indexing - Embeddings are stored in the vector store
- Confirmation - Files appear in your file list when ready
Multiple files are processed in parallel (up to 5 files at once).
Step 4: Confirmation
Once processing completes, files appear in your file list with:
- File name and size
- Confirmation that embeddings are ready
- Immediate availability to connected assistants
File Requirements
Size Limits
- Maximum file size: 500 MB per file
- Storage limit: 5 MB (Basic), 30 MB (Medium), 150 MB (Pro) per store
Supported Formats
| Category | Extensions |
|---|---|
| Documents | .pdf, .doc, .docx, .txt, .md, .pptx |
| Data | .json |
| Code | .py, .js, .ts, .html, .css, .java, .c, .cpp, .go, .rb, .php, .sh |
| Other | .tex |
See Supported Formats for the complete list.
Managing Files
View Files
Your store's file list shows:
- File name
- File size
- Upload date
Delete Individual Files
- Find the file in the list
- Click the delete icon (trash)
- Confirm deletion
The file is immediately removed and storage is reclaimed.
Bulk Delete
- Select multiple files (if supported)
- Click Delete Selected
- Confirm the bulk deletion
Storage Management
Monitoring Usage
The storage progress bar shows:
- Current usage (e.g., "2.5 MB used")
- Total capacity (e.g., "of 5 MB")
- Visual percentage
Freeing Space
To free up storage:
- Delete files you no longer need
- Remove duplicate documents
- Replace large files with optimized versions
- Upgrade your tier for more space
Optimizing Files
Before uploading:
- Remove unnecessary images from documents
- Convert scanned PDFs to text (OCR)
- Split very large documents into sections
- Remove duplicate content
File Content Example
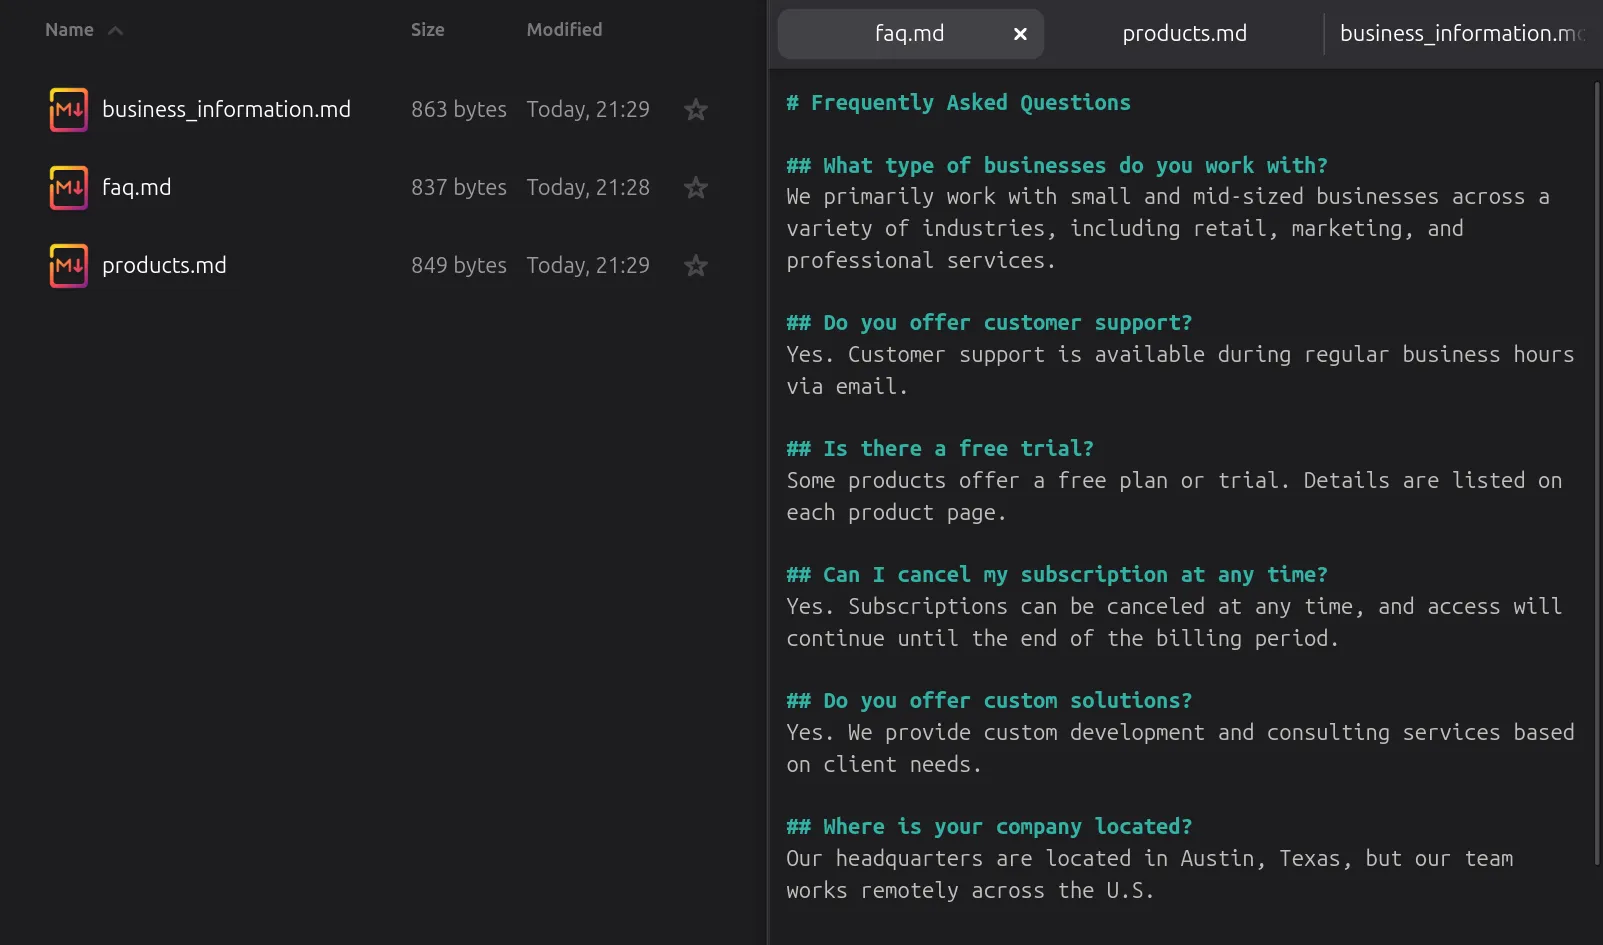 Simple Markdown files like FAQs are easy to create and maintain. The assistant learns from this content automatically.
Best Practices
Document Preparation:
- Clean your content: Remove headers, footers, and boilerplate
- Use clear structure: Headings, sections, and lists help processing
- Check formatting: Ensure text is selectable (not images)
Naming Conventions:
Use descriptive file names like product-return-policy-2024.pdf instead of doc1.pdf
Content Organization:
- Upload related documents to the same store
- Keep different topics in separate stores
- Update files when content changes
Troubleshooting
Upload fails immediately
Common causes: - File size exceeds 500 MB limit - File format not supported - Network connection interrupted
Solutions: 1. Check file size and verify format is in supported list 2. Compress if needed: Reduce PDF size, remove images 3. Try different browser: Chrome or Firefox recommended 4. Check connection: Ensure stable internet
File uploads but 'Finish Upload' fails
Common causes: - Total upload exceeds store storage limit - Individual file exceeds 500 MB - Corrupted file
Solutions: 1. Check storage bar: Ensure you have enough space 2. Delete some files before clicking "Finish Upload" 3. Upload in smaller batches 4. Verify file integrity: Re-download and re-upload
Storage quota exceeded
Immediate solutions: 1. Delete unnecessary files 2. Optimize documents: Remove images from PDFs, split large files 3. Upgrade your tier (Basic: 5 MB → Medium: 30 MB → Pro: 150 MB)
Long-term strategy: - Regularly audit and clean up old content - Use multiple stores to organize efficiently - Keep only essential, current information
Assistant doesn't use uploaded content
Troubleshooting steps: 1. Verify "Finish Upload" was clicked: Check files appear in the file list 2. Confirm store is connected: Go to assistant settings 3. Test with specific questions: Ask about exact information from your documents 4. Check file content: Ensure text is extractable (not images) 5. Review assistant instructions: Tell the assistant to use its knowledge base 6. Wait 1-2 minutes after upload for propagation
Test query tip: Instead of "Tell me about returns", try "What is the return policy for damaged items?" (if your doc covers this)